Managing Your Trip Expenses
Tripsy PRO Feature: Expense management requires an active subscription to Tripsy PRO or our Lifetime PRO purchase. You can find out more about Tripsy PRO here
Whether it's the cost of your flight, your hotel stay, meals out, or the entrance fee to a museum, you can record all of these costs in Tripsy, and have the currency automatically converted for you as well as being to export those expenses to handy CSV file, perfect for those expense claims!
There's two ways to add expenses to your trip, either by adding the cost into an activity (e.g. the cost of your hotel) or by creating an expense manually without having to link to a specific activity in your trip (e.g. travel insurance).
Adding Costs to Activities
In every activity record within Tripsy, you'll see an option for Total Cost and this is where you can record the total cost of that activity. When adding the cost, you can choose a different currency if the cost of the expense wasn't in your default currency.
If the cost information is within an email forwarded to the [email protected] email automation then we'll do our best to pick this up and automatically add it to the relevant activity, for example your flight confirmation.
To manually add a cost to an activity, open the activity and scroll until you see the Total Cost field, tap this and you'll be asked to input the cost for your activity. By default, you'll enter the cost from right-to-left, so if you need to enter $1,701 you'd enter this as 1-7-0-1-0-0.

Adding Expenses at Trip Level
If an expense doesn't link to a specific activity within your trip, for example your travel insurance, VISA costs, or perhaps just something random from the trip like an online purchase that relates to your trip (maybe that incredibly wise purchase of Tripsy PRO?) you can add these manually.
To add an expense manually:
- Open the trip in question, so you see your trip overview.
- Scroll down until you see the Expenses widget and tap anywhere within the widget.
- Tap + at the bottom right to add a new expense.
- You can add the following details for each expense:
- Name: Enter the name of your expense, e.g. Travel Insurance.
- Category: Choose a category for your expense from any of our built in activity categories, or by creating your own custom category.
- Date: Choose the date that your expense relates to, the date picker will let you choose any dates within your trip.
- Total: Tap here and you'll be able to enter the cost of your expense, and choose a currency for that expense.
- Tap Save when done.

Currency Conversion
When you enter an expense in a currency other than your default currency (set within Settings > Customize > Currency) Tripsy will convert this for you when viewing your expenses.
We take the conversion rate provided online (via currencyapi.com) for the date of the expense, which is either the start date of the activity in question or the date entered for manual expense.
Of course, your bank or credit card provider is likely to offer a different conversion rate once the payment is provided, so Tripsy's currency conversion is only designed as an estimate.
On your trip's home page, you'll see all of your expenses converted to your default currency, but if you go into the expenses list, you can then change the currency these are being converted to by simply changing the currency at the top of the list.
This is really handy if you need to get a colleague or friend in another country to split costs with you.
Removing Expenses
If you need to remove an expense from a trip, there are two ways to do this depending on how the expense was created:
- If the expense was added to the Total Cost field of an activity you just need to edit the cost and reset this to zero.
- For trip level expenses, just open the Expenses list within the trip
-
Tap and hold on the cost of the expense and you'll see the option to Delete Expense.
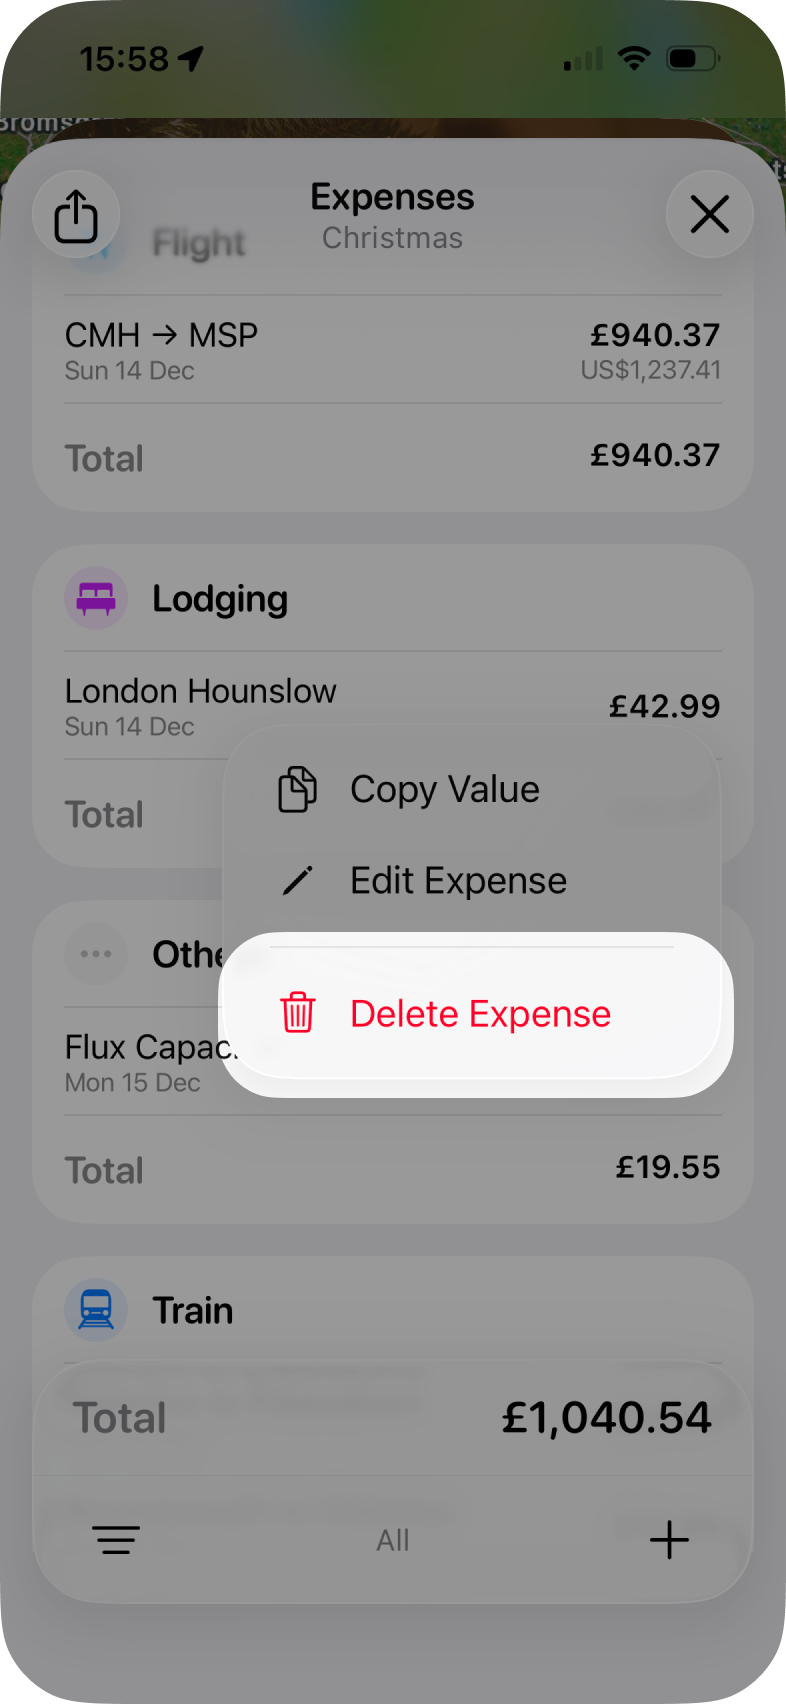
-

Exporting Your Expenses for a Trip
Need to complete your expense report, or just want to import your expenses into your personal finance app? We've got you covered!
You can export all of your expenses for a particular trip by going into the Expenses list and then tapping the Share icon at the top-left of the list. You'll then have an option to Export CSV, tapping this will present you with the share sheet on iPhone and iPad or will open the file in your default app for CSV files on the Mac.

The exported CSV file contains the following fields:
- Activity: The name of the activity as it appears in Tripsy
- Date: The date (and time if applicable) of the start of the activity in Tripsy.
- ActivityType: The category of the activity, e.g. Stay, Flight, Train, etc.
- Currency: The currency that the expense was added in, e.g. USD.
- Price: The cost of the activity or expense without any currency symbols.
- Conversion: The currency you set for your expenses to be converted to.
- ConvertedPrice: The converted cost of the expense, based on the exchange rate on the day of the expense